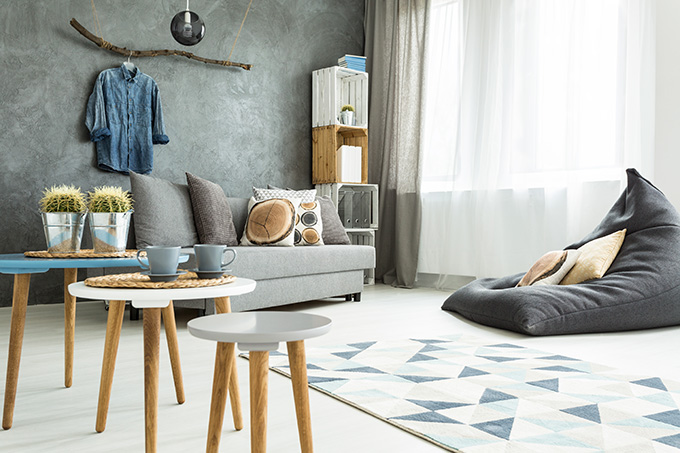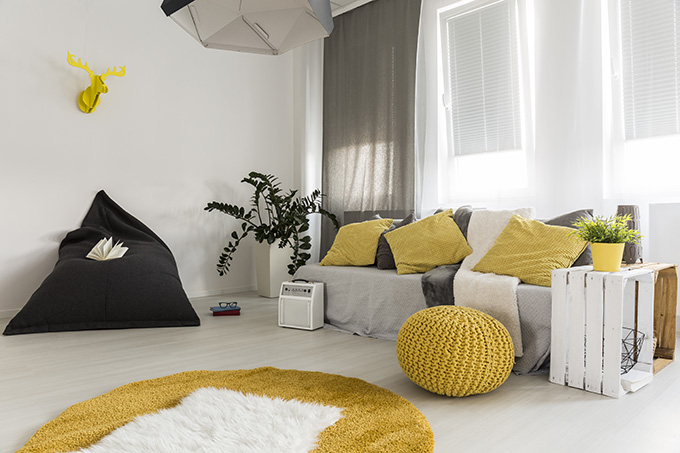
Let’s be honest; bean bag chairs are funky home additions, enjoyed by kids and adults alike. Everyone enjoys sitting in these squishy and comfy pieces of furniture, if you are in a hurry here you can find the best bean bags on the market but today we are going to discuss how to create one from scratch.
They’re portable and quite versatile, meaning you can literally keep them anywhere around the house. Furthermore, bean bags help you create a fun and casual environment, allowing you to relax in style.
Of late, bean bags have made a major comeback in the living room setup. And if you’re into DIY projects, you can surely make one. That said, designing your own bean bag gives you a lot of freedom in choosing the fabric, color, and size.
After all, you’d want a furniture piece that perfectly syncs with the existing decor. That’s why, we’ve put together this handy guide to help you make a bean bag chair from scratch.
Without further ado, let’s get started.
Items Needed To Make A Bean Bag Chair
Before you start making your bean bag, make sure to buy the following items.
- Tracing paper
- Pattern for bean bag
- Pencil
- Measuring tape
- Ruler
- Sewing machine
- Scissors
- Sewing pins
- Thread
- 5 yards of muslin for the inner liner
- 5 yards of upholstery material for the outer cover
- A pair of zippers (22-inches)
- Iron
- Glue stick
- 6 cu ft of filler (polystyrene beads)
Trace And Cut Out The Pieces
In case you don’t have a printed pattern, follow the instructions below to design a pattern for a regular-size, round-shaped bean bag chair. This design includes top, side, and bottom pieces.
Instruction For The Side Piece
Step 1: Spread out a tracing paper on the floor or a big table. Make sure it’s laid out on an even surface.
Step 2: Make a mark on the top using a pencil. After that, measure 128 cm (50½ inches) from that point and mark a second spot.
Step 3: Pinpoint the exact location between these 2 marks. After that measure 27 cm (10½ inches) on both the sides. Also, mark these points. After that, draw a line connecting these 2 marks. Now, the piece will form a cross.
Step 4: After making the cross, draw a curved line, beginning from the mark on the top and coming down to the left-hand side on the bottom point. Make the same curved line on the right-hand side. Simply put, these lines should resemble the parenthesis symbols.
Step 5: Draw a ‘U’ shape about 3 inches from the top-most point, connecting the left and the right pattern line. Make sure that the dip is about 1-inch deep.
Step 6: Thereafter, measure 6 inches from the point below and draw a similar ‘U’ starting from left to right. However, this one should have a 4cm (½ -inch) dip.
Step 7: To complete the design, you will be needing 6 side pieces each for the inner lining and the outer cover.
Step 8: Make sure to carefully follow the ‘U’ lines while cutting out each piece.
Instructions For The Top Piece
Step 1: Take a large-size paper and fold it in half. Then mark the folding point halfway.
Step 2: Now, position the edge of a ruler or measuring tape on that mark. After that, measure 5½ inches. Thereafter, draw a neat arc from the point marked in the fold.
Step 3: Cut out the piece without opening the fold. It’ll form a big round shape.
Step 4: Make sure to cut one top piece each for the muslin inner liner and the outer cover.
Instructions For The Bottom Piece
Step 1: Same as the top pattern piece, fold a large-size paper halfway. Then, mark a point in the middle along the folded edge.
Step 2: Place the ruler or measuring tape on the initial point, and measure 12 inches.
Step 3: Next, cut the round shape, and then fold it in half.
Step 4: From the folded part, measure 1½-inch on any side.
Step 5: Now make a parallel line along the folded part, then cut it.
Step 6: Next, you can discard the circle’s smaller section as you won’t be needing it. Instead, use the bigger one as the bottom piece.
Step 7: Now cut 4 pieces of this portion, i.e., 2 for the inner liner and 2 more for the outer cover. Basically, cutting 2 for each section will enable you to add a zipper by the edges, right at the bean bag chair’s bottom.
Sewing Instructions
Step 1: Next, use the sewing pins to attach all the individual patterns to the material. After that, cut out all the pattern pieces.
Step 2: Make sure to secure the bottom pieces together with sewing pins, along the perfectly carved edges of the round shape. At this point, create a temporary base stitch by the edges, using the sewing machine. Also, use the hot iron to press open the seams.
Step 3: Now, place your 56cm (22-inch) zipper on the right side on top of the seam. Ensure that the zipper is directly over the seam. For proper placement, use a glue stick for pasting the zipper firmly into position. After that, sew it on the fabric, making a straight running pattern down either side.
Step 4: Thereafter, bring all the 6 side pieces together and stitch them up. However, make sure to stitch them while upturned so that the threads remain concealed in the finished project. Also, you must make the stitches consistently and ½ an inch off the edge.
Step 5: Keep the last 2 sides open. Now, use the hot iron to even out the seams.
Turning The Bag Inside Out
Step 1: After pressing, you have to invert the bean bag, so its right side is out. Now, make a stitch on the top, on all the seams. Finish off by pressing the last seams to give it a neat and smooth look.
Step 2: Also, stitch along the rugged edges of the 6 side pieces. Thereafter, fold the edges of individual pieces under and design a seam 7 mm (¼th of an inch) from the edge top. Keep repeating the process for both the top and bottom edges of the 6 sides, then even them out with a hot iron.
Step 3: Then, pin all the side parts to the main piece on the top of the bag. Secure all the segments with a neat top stitch roughly, ?th of an inch off the seams. Follow the same steps for the piece at the bottom.
Step 4: Now, repeat steps 1 through 8 to design the inner liner from the muslin material.
Step 5: Carefully place the muslin liner within the outer bean bag cover. Now, you may fill the bean bag chair with polystyrene fillings. Ideally, you should fill 80% of the inner muslin lining. Do not forget to zip up the internal and external openings.
Step 6: Depending on your requirements, you can add or reduce the polystyrene filler to make the chair more compacted or softer. Now enjoy your newly made chair.
Easy Cube-Shaped Bean Bags
In case you’re not too confident about tracing and cutting differently-shaped patterns, a cube or square chair is easily a more straightforward design you can enjoy designing.
To create the top, side, and bottom panels, carefully measure the pieces first, and then cut 6 squares of the same size. Make sure that the fabric is a little bigger than the intended chair size.
Next, stitch all the sides together with a sewing machine, which will then form a cube, with the remaining 2 sides open. Then stitch a zipper on the seam and follow the same instructions to design the inner lining.
Amp Up Your New Furniture Piece With A Bean Bag Throw Or Floor Pillow
Making throw and floor pillows is an excellent way to enhance the visual appeal of your handcrafted bean bag chair. To make matching pillows for the bean bag, simply cut 2 identical rectangle or square pieces of the cover fabric. Just sew them up on 3 sides and invert the cover to hide the seams.
Now, fill it up with polystyrene beads, and stitch up the last side. Furthermore, if you want a larger pillow, make sure to create an inner lining and stitch the zipper on the side. This way, you can change the filling if required.
Tips For Choosing Cover Fabrics
- You’d want your bean bag to be squishy and comfy, so buy a fabric that’s both soft and sturdy.
- Bean bags are designed to hold up against abuse, so avoid getting fabrics that open up quickly.
- Always remember to buy washable materials, so you easily clean the outer cover.
- To keep things clean and hassle-free, use a water-proof material for the chair.
- For pet owners, make sure that the fabric can sustain biting and scratching.
- Experiment with different colors, patterns, prints, and textures to make your bean bag more fun and attractive.
- Even though muslin is the most commonly used material for the inner lining, you may use mesh to cut down costs.
- In case you have overactive children in your home, remove all the zipper tabs to prevent spillage of bean bag beads.
Final Words
That’s all from us!
We hope that you can use our simple and easy to follow instructions to create the most attractive bean bag chairs. At that same time, make sure to use your creativity, and design it in a way that’ll best suit your decor.
As for the material, do not buy something too expensive if you have minimal sewing experience. You do not want to make mistakes and ruin a costly piece of fabric. So, it’s best to buy something economical and sturdy.
Also, be sure to follow the measurements, otherwise, it can compromise the shape of the bag.
Till next time, keep DIY-ing!


